Sew a Picnic Food Cover
By Diane Ellis
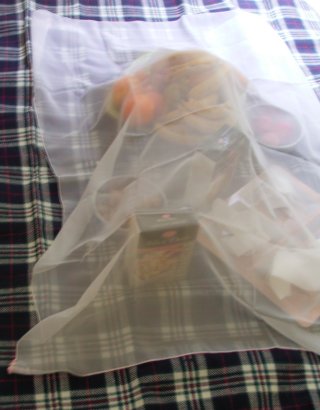 First, decide what size you want the throw to be (depending on how much food you are likely to have to cover) and then buy the appropriate amount of fabric. The best fabric is light and breathable, so air can get in, but not the insects!
Suitable fabrics include netting and chiffon. Your fabric store can probably suggest the best fabrics.
Buy just slightly more than the amount you need – it’s always useful to have a spare piece of fabric to test your thread tension, length and width.
 I also suggest you buy some small beads to sew on the corners. I have used a shell feature (see right). The beads aren’t just decorative – they also help to weigh down the throw in case of light winds.
To Make
Cut your fabric to the right size. We’re going to use a tight zigzag to finish the edges of this cover (rather than hem the fabric).
Now, take your offcut of fabric and test your zigzag stitch until it is the right tightness and width for your fabric. Sew all of the edges in zigzag stitch.
If you are worried about sewing zigzag on such fine fabric, you can always machine stitch a 5/8” hem all around.
You now need to hand sew on your beads. I string the beads together first onto a double strand of cotton, then use the cotton still in the needle to stitch the string of beads onto the corners of the cover.
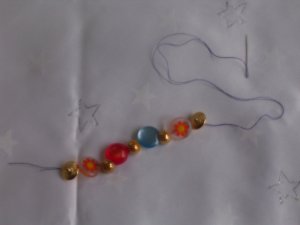 In the picture at left I am actually using old buttons for my decorative corners. Just string your beads or buttons onto the cotton, secure both ends with knots, and then stitch straight on to your corners.
Don't just stitch at the ends – I suggest you run a few stitches through each end of every bead or button. You can do this by placing your beads on the right side of the fabric, then push the needle through the fabric, and come up to the right side of the fabric again just slightly off where you first went through (see diagram below). Repeat this at each end of every bead or button.
And you're done! A very pretty, and a very useful, item.
Diane Ellis is the owner of www.Sewing4Dummies.com. Learn more about her on our About Us page.
If you like this pattern, it is an excerpt from our free sewing course. To get this pattern, and 5 other handy projects to sew, just click here to sign up for our free course, or click the "course" tab at the top of any screen. Enjoy!
Free Sewing Course

We have put together a 6 part Sewing Course which shows you, step by step, how to create some fabulous items that you can use as gifts, to decorate your home, or even sell to bring in some extra cash.
To sign up for your free Sewing Course, just enter your first name and email address below, and click the button below.
Sorry - temporarily unavailable.
We value your privacy, and promise never to give or sell your information to any third party. See our detailed privacy policy here.
Support Our Site
If you have found the information on our site useful, we would like to ask you to consider a donation to help us maintain this site. Thank you!